Welcome to the Maker Monologues FAQ page! These are the most frequently asked questions for copper electroforming and silversmithing. Use your Find function within your browser to search a keyword or term you need help with.
I've created a corresponding blog post for this page for you to comment any questions you have that I've not covered here or in any of my posts. I get dozens of emails each week with questions about these topics and I'm trying to limit these emails because it really clogs my inbox. It would be much better to ask your question publicly in the comments section so others can see the answer rather than me answering the same question over and over via private email.
I get to my blog comments much quicker than emails. So use this blog post to post any questions you may have that there's not already a corresponding blog post for.
I will be adding to this page the more I see the same question being asked multiple times. Thank you for your cooperation!
Electroforming FAQ's
Silversmithing FAQ’s
Copper Electroforming
What are these blue crystals at the bottom of my bath and can I reuse them?
Those blue crystals are simple copper sulfate. When your bath gets dehydrated it forms these copper sulfate crystals. Simply add them to some distilled water to make them liquid again and you can reuse them.
Check out my post: what are these blue crystals?
How often do you change the bath?
I change my bath when I notice my anode has been completely eaten away. I get away with not changing it that often. I use a 16oz mason jar. I top my bath off with distilled water when I notice it's evaporated some. While I do that I also add a few drops of copper brightener and that helps to keep it going.
I use around 12g copper wire to create my anode so it takes about 2 months or so before it gets eaten away. Of course, the more you electroform the faster it'll get used up.
How can I dispose of my spent copper electroforming solution?
You want to make sure you're disposing of your waste correctly. It's only right for the environment and for future generations. Any spent solution you have you'll want to neutralize it with baking soda and have your local hazardous waste crew pick it up.
Don't pour it down your drain and don't put it out outside. I just keep my solution bottles and pour spent solution back into them until I'm ready for proper disposal.
I was wondering how long a beaker of the electroforming solution is good for?
You can theoretically keep your solution good forever, but that takes some high maintenance and I haven't been able to achieve that. I've found that I can keep a single bottle of solution (I use the Midas Bright via Rio) for months, maybe 6 months or so. It'll often work well for a while, then it'll start to make my pieces come out weird (copper crumbling off, etc.). What I do when this happens is I top the solution off with distilled water and a bit of copper brightener (again, I use the Midas Brightener via Rio) and it'll be good to go again.
How do you filter your bath and how do you treat it for a new run?
The method I use to filter my bath is I take a funnel, like the one you use to funnel oil into your car, and a coffee filter. I place the funnel inside a clean glass then insert the coffee filter inside the funnel. I slowly pour the solution through the coffer filter making sure to stop just before all that copper "gunk" gets to the edge of the glass.
Once I've filtered my solution into its new glass I pour about 3-4 tablespoons of distilled water per 14 oz. of solution (And don't worry, I'm not that exact, I just eyeball it.) Then I drop in about 3-4 drops of Midas Bright Copper Brightener. Stir it around and I'm all set.
Am I able to electroform with metals other than copper? Specifically gold or silver? Or would it be better to gold/silver plate over a copper electroformed piece?
Yes. You can electroform with just silver (not sure about gold) but it takes super toxic chemicals not suited for home studios, I don't even know the process or where to get the chemicals from. So the easier way is to do copper electroforming first, then you need a solution for nickel plating. You need to nickel plate over the copper before you electroplate with silver or gold because copper likes to mix with silver and gold making your finish look a little coppery. So the nickel acts as a barrier between the two metals. After you do your nickle plating you need to use another solution (gold solution for gold plating and silver solution for silver plating) then you can go ahead and gold or silver electroplate over the nickel.
I've never done this before and have only done light research so that's all I know about gold and silver plating. There are some YouTube videos on Rio Grande's channel that talk about this process.
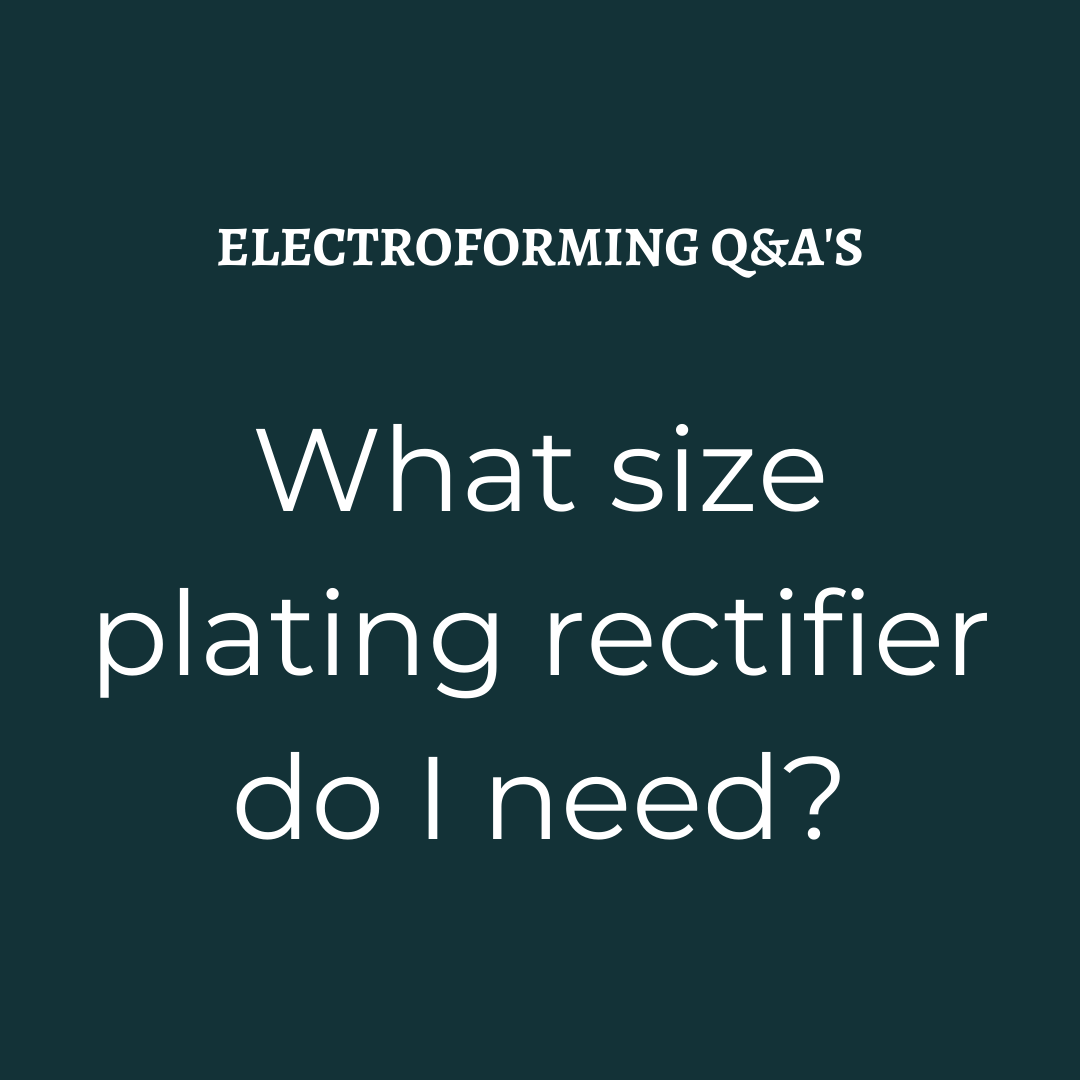
Since I'm just starting out should I invest in a 5-amp rectifier or get a 3-amp one?
If you plan on doing large batches of jewelry using a large bath setup then I’d recommend the 5-amp. Otherwise, the 3-amp would suit you just fine. You can electroform up to 30 rings at one time using a 3-amp.
My amps and or voltage isn't reading, it's on 0, what do I do?
There are many factors at play so it's hard to give a definitive answer. But here's a quick checklist that may help you out.
Check to see if you need to add distilled water to re-hydrate your bath. Have you noticed your bath evaporating or forming blue crystals at the bottom? If so, add a bit of distilled water, just enough to fill it back to where it was originally.
Check that your lead clips are attached to the correct wire. Your black negative lead needs to attach to your cathode (the wire that's suspending your piece in the bath) and your red positive lead needs to be attached to your anode.
Is your anode and the piece you're electroforming touching? These two must not be touching.
Filter your bath; replenish with distilled water and add a few drops of copper brightener.
These are the 3 basic points to check. If you check all these and still have issues it could be contamination in your bath or something with your power supply. Maybe the fuse needs to be changed.
I have been gluing the stone on the ring shank then forming the epoxy around the stone when the glue is dry. This makes for a REALLY thick “bezel”. Is this how it's usually done?
Yes, this is correct. After you apply the epoxy under and around the stone filling and gaps between the stone and ring shank you want to file down the epoxy where needed so it's not so thick. You also want to file the epoxy all the way down to the copper ring shank on the inside of the ring behind the stone. This will allow your ring to be perfectly round on the inside. post.
I am getting a kind of putty-ish salmon color. What's wrong?
Questions like this without context are hard for me to answer without context. Here are some questions to ask yourself.
What is the size of the item you're trying to electroform? 1 amp would be a setting I would use if I'm electroforming around 10 stacking rings with a small gemstone. I usually set my amps to .30 for 3 rings.
How long have you been using this same bath and how many runs have you done? If you notice any evaporation with your solution then replenishing it with distilled water can help.
What's the size of your bath? For a larger bath, you may need something like a heat plate to warm your bath. Your bath should be at 70° or higher. I don't do anything to heat my bath as I keep my place around 74° to 75°.
What solution are you using? Root killer, although some folks have success with it, isn't made to give you the best copper plating, as it's used for an entirely different purpose. It's better to use something specially formulated to do exactly what you need. Also, I've used the Khron brand electroforming solution which really sucked. Got bad plating all the time. I always recommend the Midas Bright from Rio Grande. I know the shipping is expensive if you're not in the US but maybe there's a better option for you, or making your own solution would be better. We have a couple of copper electroforming solution recipes in the Facebook group. Click Join if you're not already a part of the group.
What conductive paint are you using? Again, just like the electroforming solution, the conductive paint you use much be good. I started out using the Caswell brand which I thought was ok. But after trying the Safer Solutions brand I couldn't believe I'd been using the other stuff!
What sealant should I use to protect shiny copper from oxidation?
There are many products out there that you can use with Renaissance Wax and ProtectaClear being the most popular. I swear by ProtectaClear. I've used both of these products and I've never been able to get Ren Wax to work. With Ren Wax, my copper will start to tarnish the same day. But with ProtectaClear the copper stays sealed for up to 2 weeks. And that's with constant, 24/7 wear. I tested it on a ring that is constantly rubbing on your skin.
There is no product out there that can keep your copper sealed forever, but ProtectaClear is the longest-lasting product I've found.
Check out my post on how to apply ProtectaClear to your copper jewelry.
What would you recommend sealing opals with?
There are many products you can use but liquid frisket and plain ol' clear nail polish are most popular.
I have a post just on sealing opals.
To electroform onto a bone, leaf, fossil or antler must it be sealed prior to processing?
Yes. You will most definitely need to seal your bones or fossils before applying the epoxy or conductive paint, then seal just the exposed surface again after epoxy and paint. It's very likely the acid in the copper electroforming solution will etch the bone and it'll not only dissolve it but contaminate your bath, not fun. I would take extra caution sealing bone and fossils because they are more porous, so do around 3 coats of varnish, letting cure in between each coat, and make sure there are no weak spots (spots that you missed when coating it) for the solution to seep in.
Check out my post on sealing everything from stones to bones.
What are the safety concerns of a small bath? Should I be worried about using it in my living space?
You honestly don't have anything to worry about unless you're running a huge tank, then you may need to look into some ventilation. You obviously don't want to touch the acid solution but if you happen to you can just wash it off really well with soap and water. Obviously, make sure all pets and children do not have access to it. A member of the Facebook Group, Annie Laura, suggests getting an armoire or a cabinet to keep your setup in so you can close it off. I think that's a really great idea.
Where you really want to take more safety precautions is with sanding and polishing. When we're sanding and using polishing compounds the air will fill with these tiny particles that you don't want to breathe.
Here's a quick safety gear checklist:
Particulate mask + filters (I always recommend the 3M brand)
Also, check out my electroforming safety post for more tips.
Miscellaneous
I often get stones from awesome rockhounds who source and cut them themselves. Instagram and Etsy are wonderful places to find these folks. Join the Maker Mob to get my list of top online gemstone suppliers!

Lastly, visit gem shows and meet the suppliers, build relationships with them and add them to your contacts. If you work with specific stones over and over this is a good way of knowing you'll always have a supply for them.
Hopefully, that'll get you started. Let them know who sent ya!
Silversmithing
The reason there are different densities of solder is that they melt at different temperatures.
Hard solder melts at 1490°F
Medium solder melts at 1360°F
Easy solder melts at 1325°F
Extra easy solder melts at 1207°F
So using different solder densities is perfect for projects that need more than one soldered joint to be completed. You always start with hard solder for your first joint so that when you go to make your second solder joint and use medium solder which needs less heat than what hard solder needed you can melt your medium solder without re-melting your first solder joint.
If you have a project that only calls for one solder joint the best solder to use is hard because hard solder is the closest matching to the color of silver. Easy solder is the least matching to the actual color of silver.