How To Make Silver Sphere Embellishments for Silversmithing
/Embellishments can elevate the look of your jewelry designs! My favorite silver embellishment, though, is the silver sphere (can you tell I’m trying to not use the phrase “silver balls”?). This is probably the easiest thing you make. It literally takes less than a minute to make and only 4 steps!
Please excuse the photos, I know they’re not the best, I used my phone rather than my point and shoot camera.
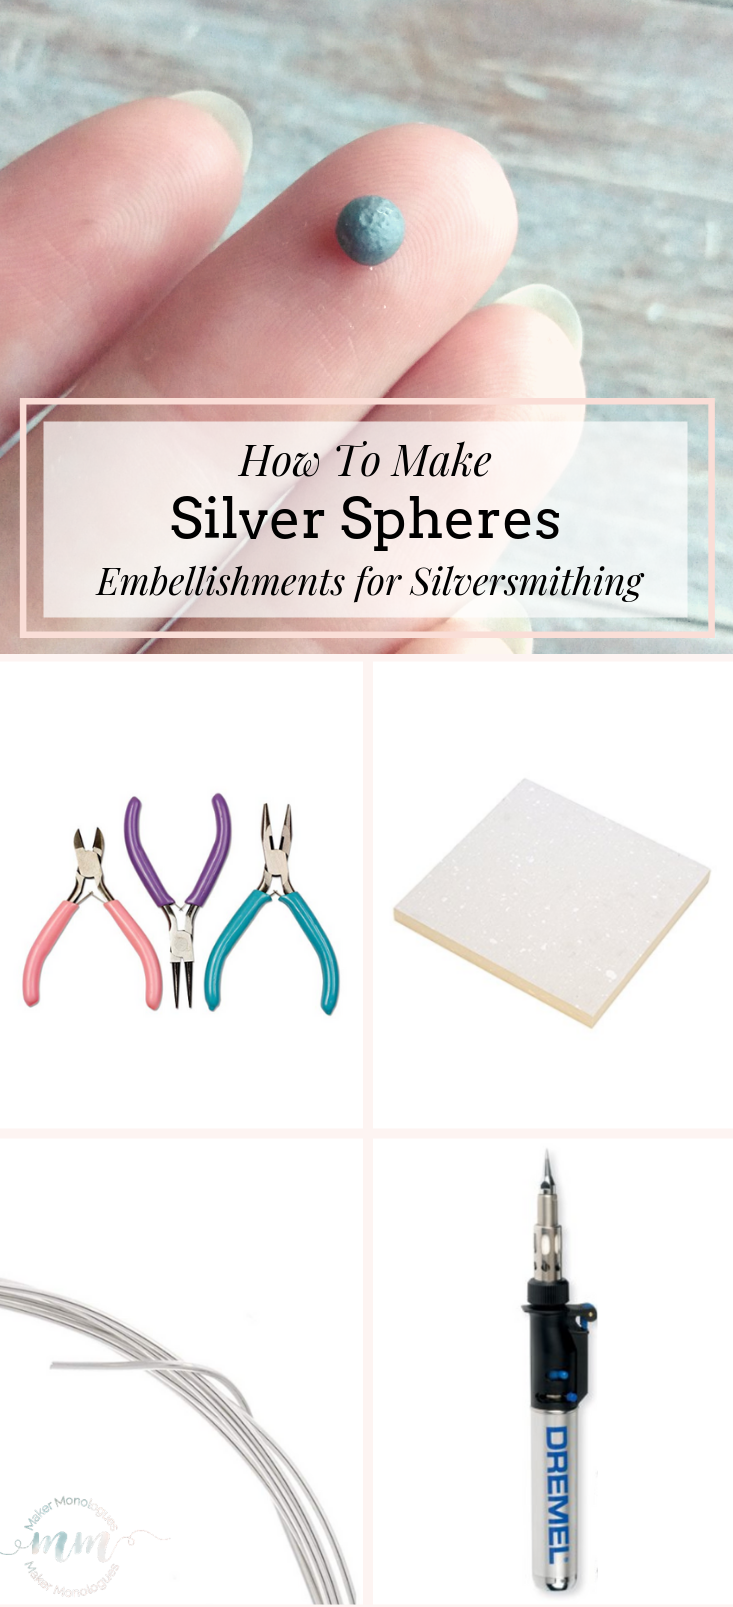
Tools:
Supplies:
Step 1 | Cut a Piece of Wire

I’ve not found a formula for the length of silver wire by gauge size to get the circumference of the sphere you want. But it’s something I think I may create. For now, you just have to eyeball it to get the size of sphere you need. For this project, I have a piece of 16g wire that I pulled from my scraps.
Step 2 | Make a Spiral from Wire


Take your round nose pliers and wrap your wire around to make a spiral. This helps condense the wire into an “almost-round” shape so it forms a ball easier. At least it’s worked for me. I’m certain you can still accomplish this by just melting the wire as is, without spiraling it.
Step 3 | Melt Wire into a Sphere

Place spiral on your soldering board and torch it until it melts into a ball. Aim the torch at the wire and makes tiny concentric circles heating all of the wire. You’ll see it get red and molten and it will automatically want to form the most concise shape, which is a ball.
Step 4 | Let the Sphere Cool

Take your tweezers to carefully pick up the sphere and quench it. And you’re done! Now you can make more and use them in a jewelry design.

Fun Challenge! Post your jewelry projects made utilizing one or more spheres and tag me on Instagram @makermonologues and tag #silverspherejewelry so I can see your awesome pieces!