Sealing Everything from Stones to Bones to Protect Them While Electroforming
/*Last Updated: 12/07/2021
I get asked a lot about what stones, fossils, bones, and shells need to be sealed with a protective coating before putting it into the copper electroforming bath. Also, what is the best way to seal these things so they don't get etched, dissolve or contaminate our bath?
There are many products, materials, and hacks out there for giving pieces a protective coating while it's electroforming and I've sifted through a bunch of content to find out what works best.

Sealing Everything from Stones to Bones to Protect Them While Electroforming by Maker-Monologues.com
*This post contains some affiliate links, which means I may receive a small commission if you purchase from certain links listed. This is how I'm able to run this blog, share my knowledge, at no cost to you. =) Thanks for supporting Maker Monologues!
Check out my growing list of stones you need to seal before electroforming.
Bones, Fossils, Shells, Leaves, Feathers, Twigs, Acorns, Plastic, Fabric, Seaglass, Pottery, Concrete, Etc.
These types of material are very porous and it's likely the acid in the copper electroforming solution will etch the material and it'll not only dissolve but contaminate your bath, not fun. It's imperative that you take extreme caution when sealing these pieces.
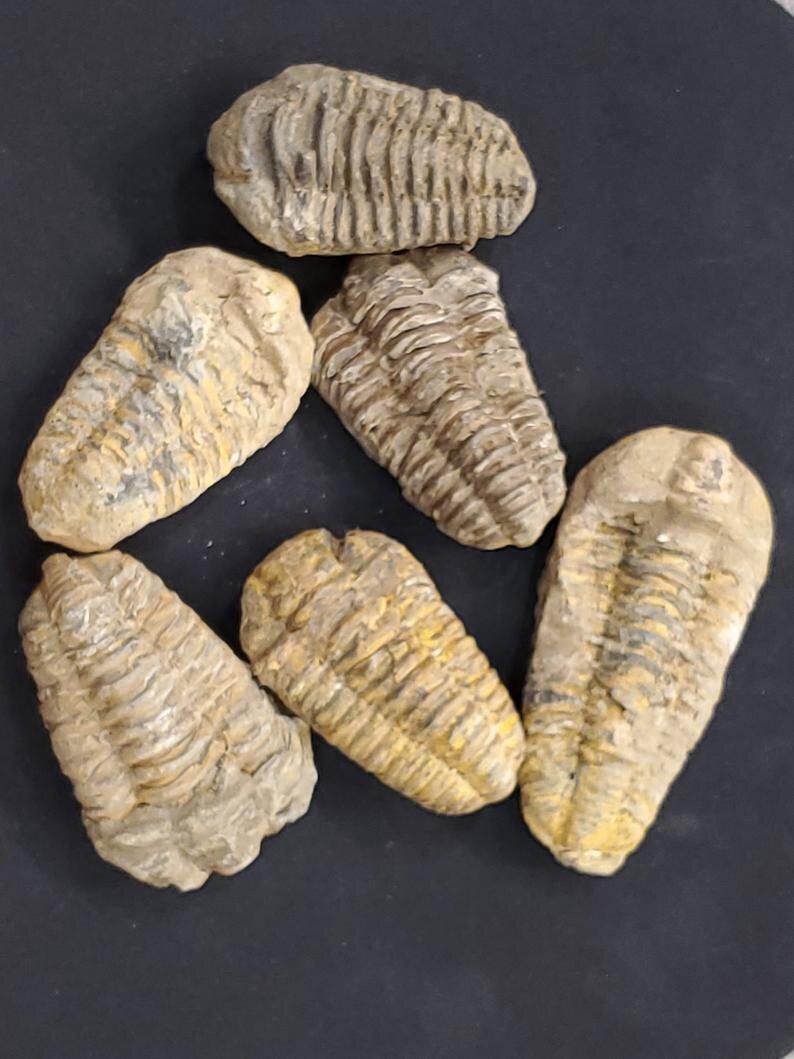
Trilobite Fossils from PrehistoricOregon
First, make sure you clean your material. When it's covered in dirt it's harder to paint on your sealant. Take a regular old paintbrush and brush away as much dirt as you can. Then scrub it with soap and water. If it's super delicate like a leaf, just a simple paper towel damp with warm water will do. Gently wipe away dirt.
Now you're ready to seal your piece. As I mentioned, these types of organic items are very porous so I recommend a product called Minwax Polyurethane.
Take a clean paintbrush and apply 2 to 4 coats of polyurethane letting it dry in between coats. Depending on how delicate or porous your item is you want to apply more or fewer coats. If it’s a leaf skeleton I would do 4 coats, if it’s an acorn, 2 coats should be fine. You can also dip your piece in the polyurethane rather than brush it on with a paintbrush.
Once you’ve applied your last coat and it’s fully cured, then you can attach your copper bail or ring shank with superglue.
Apply your epoxy (if your design calls for it).
Apply conductive paint.
Electroform as usual.
Opals
Opals are probably the most tricky gemstone to protect from the acid solution bath, especially Welo opals which absorb water and any other liquid it comes in contact with, known as hydrophane. Australian and Mexican opals are a little more resilient but still need proper sealing for successful electroforming.

Rough Ethiopian Opals from OpalminersShop
Much like the shells, bones, and fossils you want to clear away any matrix (sand pockets) on your rough opal (if you're working with cabochons or free forms that have been cut/polished then skip this step). I like to use a diamond bur grinder with my rotary tool to take away unwanted material.
Once you're happy with the look of your opal it's time to seal the hell out of it!
*Caution, never use a water-based sealant on hydrophane (Welo) opals.
Paint the entire opal with 3 coats of clear nail polish, letting dry in between each coat.
Apply your copper ring shank or bail with superglue.
Apply epoxy, if your design calls for it.
Apply your conductive paint where you want it.
Apply liquid latex over the part of the opal where you did not apply the conductive paint. Paint 3 coats of the liquid latex up to the point where you painted the conductive paint.
Once you’ve electroformed your piece you can peel off the latex and use a non-acetone polish remover to remove the nail polish.
Check out my guide on sealing opals for a more in-depth guide on sealing opals.
Sealing Stones, Clusters, Aura Quartz, Glass, Stones Containing Metal and any other solid, non-porous items.
It's a general rule of thumb that anything below a 7 on the Mohs Hardness Scale should be sealed. But there's more to it than that. For example, quartz is fine to not be sealed but clear quartz has been known to get a blueish tint thanks to the copper electroforming solution being blue. So to prevent that you'd probably want to seal it.
I use lots of clear quartz in my jewelry and have never seen this happen, but there are a few folks this has happened to, so to stay on the safe side seal your clear stones, not just quartz. Or, you can test it for yourself and if you feel comfortable not sealing then don't (I just need to add my disclaimers because I'd hate to tell someone it's OK to not seal and then they ruin a piece).
For most stones here’s what I recommend:
Attach your copper bail or ring shank using superglue like normal.
Apply your epoxy if your design calls for it.
Paint your conductive paint wherever you want it.
Then, apply up to 3 coats of liquid latex up to the point where you painted your conductive paint.
Now you can electroform your piece. Once finished, simply peel off the latex.
For crystal clusters, it can be tricky to coat them without missing some spots in between the points but you can absolutely paint on liquid latex. It’s thick enough to get into all the crevasses. Here’s an example of a crystal you can seal with white latex to prevent staining:

White Chalcedoney Crystal from FZMineral
*Note: I tend to like to use a colored liquid latex so I can see if I missed any spots when painting it on, however, the colored latex can stain some more porous stones so use your best judgment and use white liquid latex for these types of stones.
Other Types of Metal
All metal is conductive at different levels therefore all metal, that you do not want copper to form over, should absolutely be sealed. For example, say you’re making a pair of post earrings using sterling silver posts with copper electroformed stones. Here’s what I recommend:
Glue sterling silver earring posts to your stone.
Apply epoxy, if needed (typically not needed in tiny designs like this)
Apply conductive paint where you want it.
Apply PlastiDip on your earring posts up to where you applied conductive paint.
Electroform as usual, when finished you can peel off the PlastiDip from your earring posts.
I hope this guide was super helpful to you all. It's been a while since I wrote an in-depth article on electroforming. If you're curious about whether or not you should seal a material that I have not listed here just leave them in the comments rather than emailing me that way I can answer it publicly in case someone else is wondering the same thing. =)
I hope to cover sealing your copper jewelry AFTER electroforming to protect the finish. I also hope to write up an article about how to clean rough opal so it's ready for use in jewelry making.
In the meantime, join the Maker Mob, an email list where you are updated every time a new blog post goes up!
I also want to start sharing your work on my blog! If you've found any of my articles to be of use for you in making a piece I would love to see it! Use the hashtag #MMProjects on Facebook or Instagram!