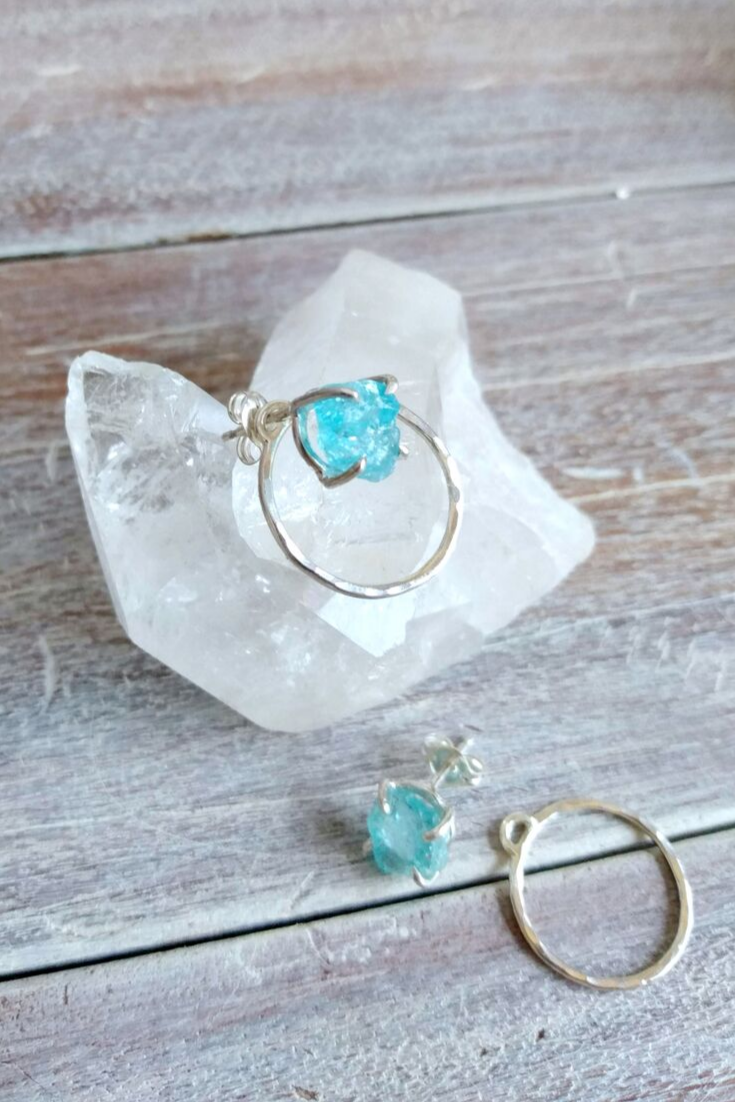
Gemstone Prong Ear Jackets Tutorial
/I love seeing raw gemstones in prong settings. There’s something about the juxtaposition of raw earth and polished metal that satisfies my soul! Plus, let’s face it, it’s a little more difficult to bezel set raw gems because of their rough shape.
I began this project months ago, I was initially just going to make some simple double circle ear jackets. So I made the silver circles and they just sat in my studio. The other day I found them and got re-inspired to step up the initial design. And, I just really wanted to play with some gemstones!

This is for an intermediate silversmith, you need to have some experience with soldering tiny bits and setting stones in a prong setting.
Tools
Half Round File (#2 swiss cut)
Supplies
Raw Blue Apatite (or stone of your choice)
(6”) 18g Round Silver Wire, Dead Soft
(4”) 20g Round Silver Wire, 1/2 Hard
(x1) 20g Jump Ring, 3mm Diameter
Silver Solder (Hard, Medium & Easy)

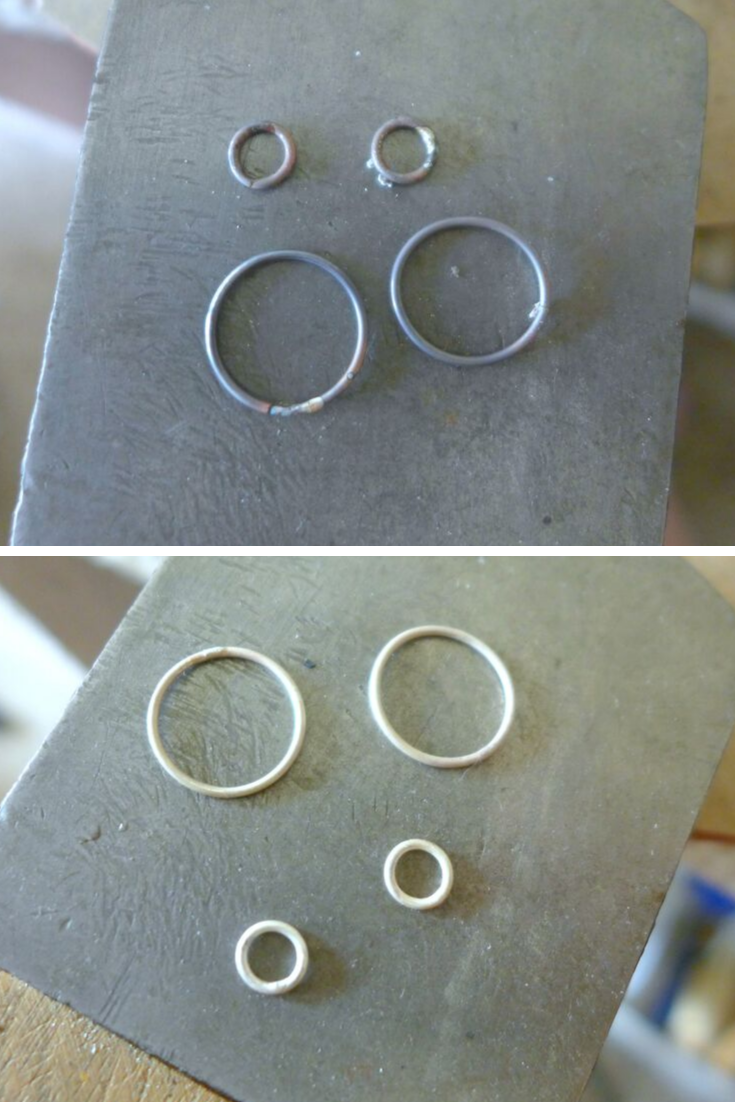
Step 1 | Make Two Small and Two Big Rings
For the smaller two rings, wrap your 18g wire around the smaller jump ring mandrel (they come in a pack of two) on the second biggest tier.

For the bigger two rings, use your ring mandrel and wrap your wire around the smallest part of the mandrel.

A tip I have is to take your needle nose pliers and make a little bend at the end of the wire to give you something to hold onto while you’re wrapping the mandrel.

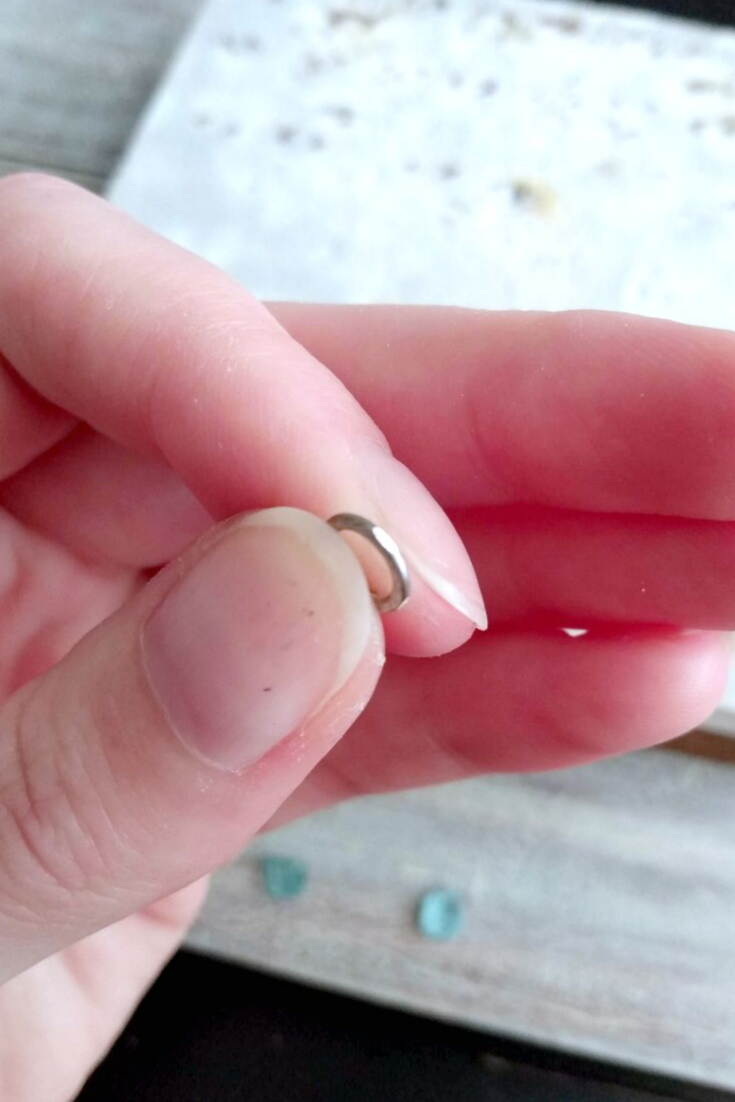
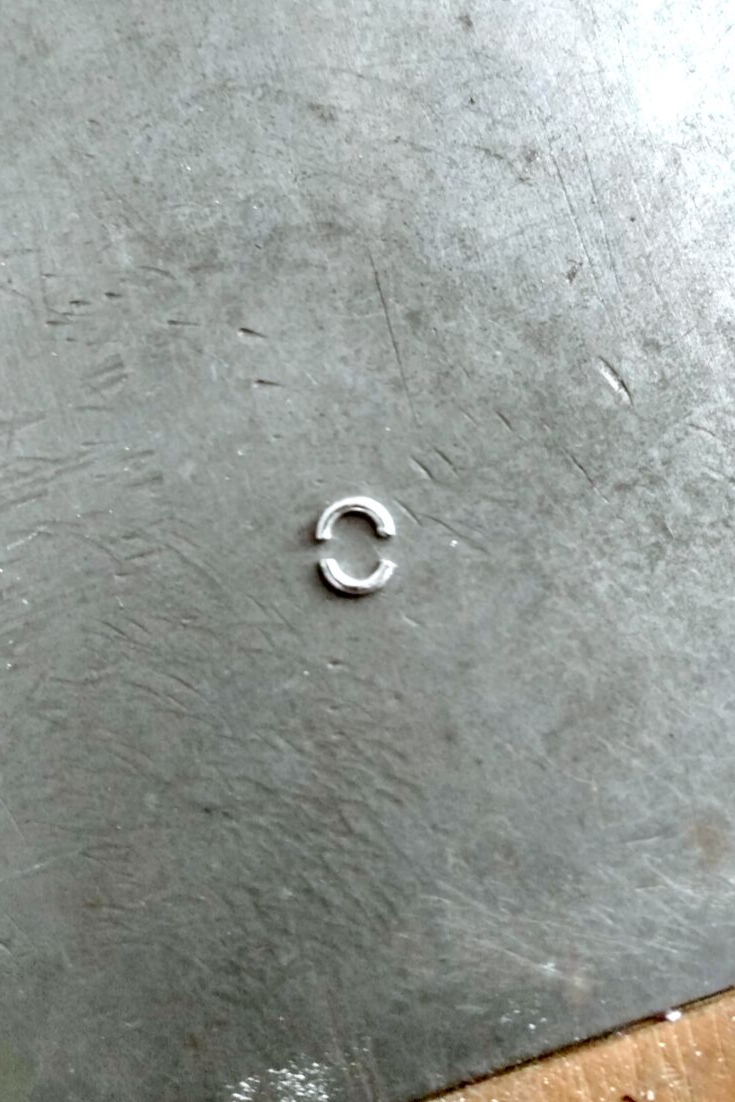
Step 2 | Saw Your Rings to Separate Them
For this project, I’m using 3/0 saw blades with my jeweler’s saw. Run your blade through some lubrication before sawing. Place your rings on your bench pin and begin sawing through both of them at the same time to separate the rings from each other.
A tip for this is to use your thumbnail as a guide for the blade to get the cut started.

Step 3 | Solder The Rings Closed
First, make sure your rings are closed by taking your parallel jaw pliers and your needle nose pliers (you can use 2 pairs of needle nose pliers, it doesn’t matter) and wiggle the ends of your ring back and forth while closing the gap so they are touching. You need your ends perfectly squared so there’s no gap when you go to solder.

Apply a dab of flux to the joint, place a tiny piece of hard solder on top or underneath the joint, and solder all 4 of your rings shut.

Toss your rings in your pickle pot to clean the firescale off.
Step 5 | True-Up Your Rings
Make sure your rings are perfectly round and flat. Take your rawhide mallet and hammer your rings on their mandrel so you get a perfect circle.
Next, place your rings on your anvil and hammer them flat.

As I was saying at the beginning of this post, I was initially going to make some simple, double circle ear jackets so I hammered these rings with a ball-peen hammer to give the metal dimension and shiny facets. But after that, I put them away for a while. I decided to take the design a step further by turning the smaller rings into prong settings for gemstones. So you can’t see the hammered texture in the smaller rings but the bigger rings still show that. So feel free to skip step 6 if you don’t care for the hammered texture.
Step 6 | Create Hammered Texture on Larger Rings
Lay your larger rings on your anvil. Take your ball peen hammer and give your two larger rings a hammered texture.

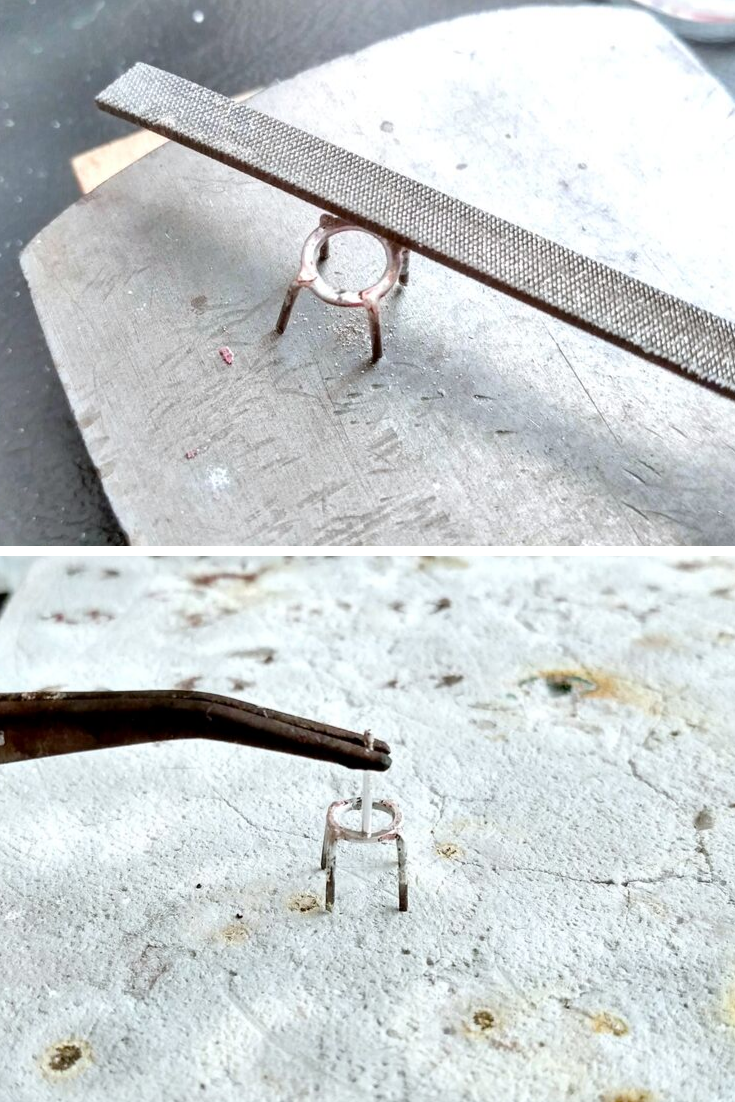
Step 7 | Create Your Prongs for the Gemstone Setting
Cut eight 1/2” long pieces of your half-hard 20g wire. File one end flat on each piece. (Note: the length of your prongs will depend on the height of your stone so use your best judgment and add more length than you think you’ll need. You can always cut the prong back if you need it shorter.)

File four flat spots on each of your smaller rings going in the direction of north, south, east, west. This is where you will solder on each of your prongs.
Solder on each prong one at a time using medium solder and your jeweler’s tweezers to help you place each prong and hold it there while soldering. This is a very delicate process but if you have patience and attention to detail you can get it done.

Step 8 | Solder on Your Earring Posts
As you’ll see in my photos I did step 9 before step 8 which, in hindsight, realized it would’ve been much easier to solder on my earring posts before bending my prongs upward. It’s always easier to solder when the thing you’re soldering to is laying flat on the soldering board.
File a flat spot on the back of your prong setting with a flat needle file, this is where you’ll solder on your earring post using easy solder. I like to use my third hand to hold the earring post on top of the earring but if you have a steady hand then you can use your handheld jewelers tweezers.
Make sure to solder on your earring posts in between your prongs. You want to stay away from soldering over another solder join.
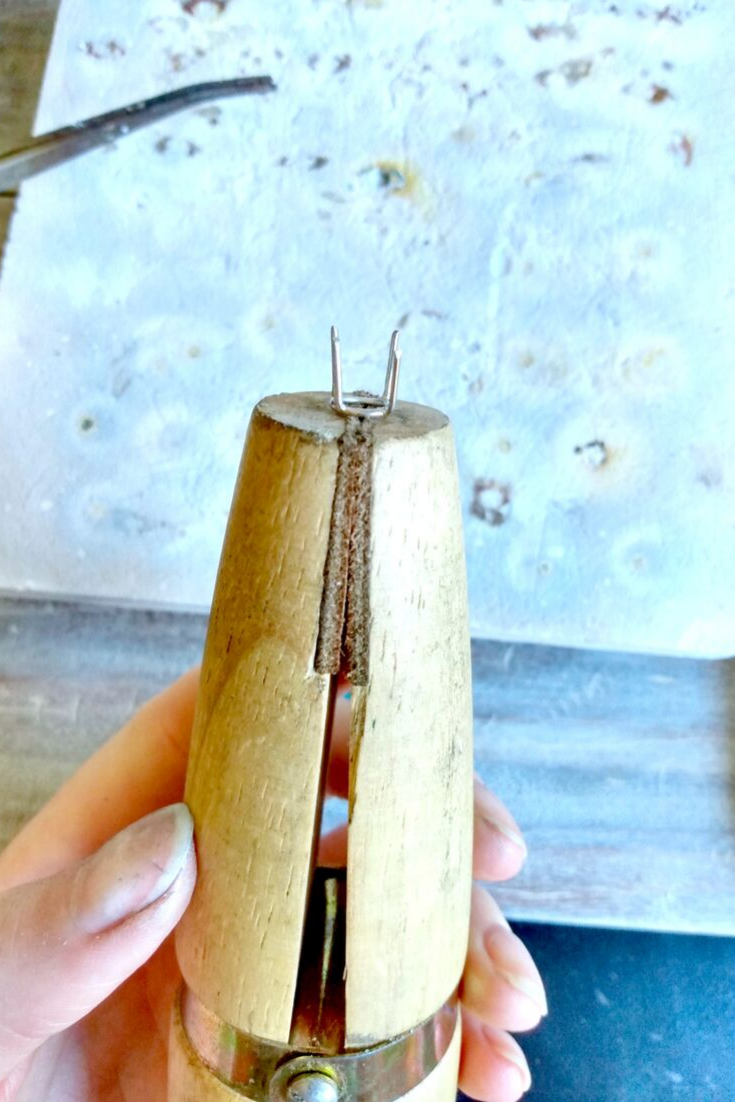
Step 9 | Bend Your Prongs Upward
Take your parallel jaw pliers and bend each prong upward checking the fit of your stone. If your stone is much wider and comes out past your prong’s solder joins then mark where your stone’s edge hits on each prong and use that mark to make your bend in each prong. I show you how to do that in step 7 of my ‘How To Make A Prong Ring"‘ tutorial.


Step 10 | Add Bail To Larger Rings
Take a jump ring, I’m using a 20g, 3mm diameter jump ring for this. My jump ring comes with an opening already, if yours doesn’t then you’ll have to saw it open. Next, find the center of your jump ring using this cool circle center finder guide that you can download and print from AtTheBench.com.

Mark the center of the jump ring and saw it in half, again, using your thumbnail as a guide to starting your cut. Once you have both halves of your jump ring you’ll want to file each half flat.


File a flat spot on each of your larger rings. Be sure to avoid the first solder joint in your larger rings. I am soldering on the opposite end from where I soldered my ring shut.
Using your medium solder, solder on each half of your jump ring onto your larger rings so that you have a place to slide the ring onto your earring post as the “jacket” part of the earring.

Step 11 | Polish Your Silver
Now, toss all four of your pieces into the pickle pot to clean off the firescale.


Once clean, polish your pieces with your radial discs starting with the red 220-grit, moving up to the pink 600-grit, and finishing off with the green 1-micron grit. You can also use the polishing system of your choice.

Step 12 | Setting The Stones
Place your earring post inside a ring clamp so you have a nice flat surface to set your stone in the prong setting. Place your stone inside the 4 prongs. You want to make sure that each prong will be set in a way that completely holds your stone in place. I like to find inverted grooves in the stone, if I can, to set my prong down into.

Take your grooved prong pusher and starting from the base of your prong push each one inward toward the center of the earring. You want to push each prong starting with the north prong, then the south prong, then the east prong, and lastly the west prong. This will make it so that you don’t push your stone off-center.


Once you’ve pushed at the base of your prong you want to move your prong pusher up the prong and begin pushing each one up and over your stone. By the time you get to the tips of your prongs, you want to be pushing them straight down over the top of your stone.
At this time you may notice your prong getting in each other’s way, that’s okay. Stop for a minute and get your flush cutters and start to snip away the excess. You can snip away as much or as little as you like. I like to take mine as far as I can without compromising the structure of the setting. Use your common sense to know how many prongs you need to hold your stone in place.


Step 13 | Finishing Touches
I like my prongs to have a claw-like aesthetic. So I take my half round #2 swiss cut file and file each prong tip at an angle so it has a sharp tip.

Next, take your rubber polishing wheel and polish your prong tips to remove any burrs.
Lastly, I like to go over my entire piece with the green radial polishing disc one last time to give my pieces a mirror finish.

I hope you all like this in-depth tutorial. There are so many ways you can take this design concept, just as I had with initially creating a simple double circle ear jacket design to take it to another level by adding some prong-set gemstones! I’d love to see what you come up with! Tag me on Instagram @makermonologues so I can see your projects!