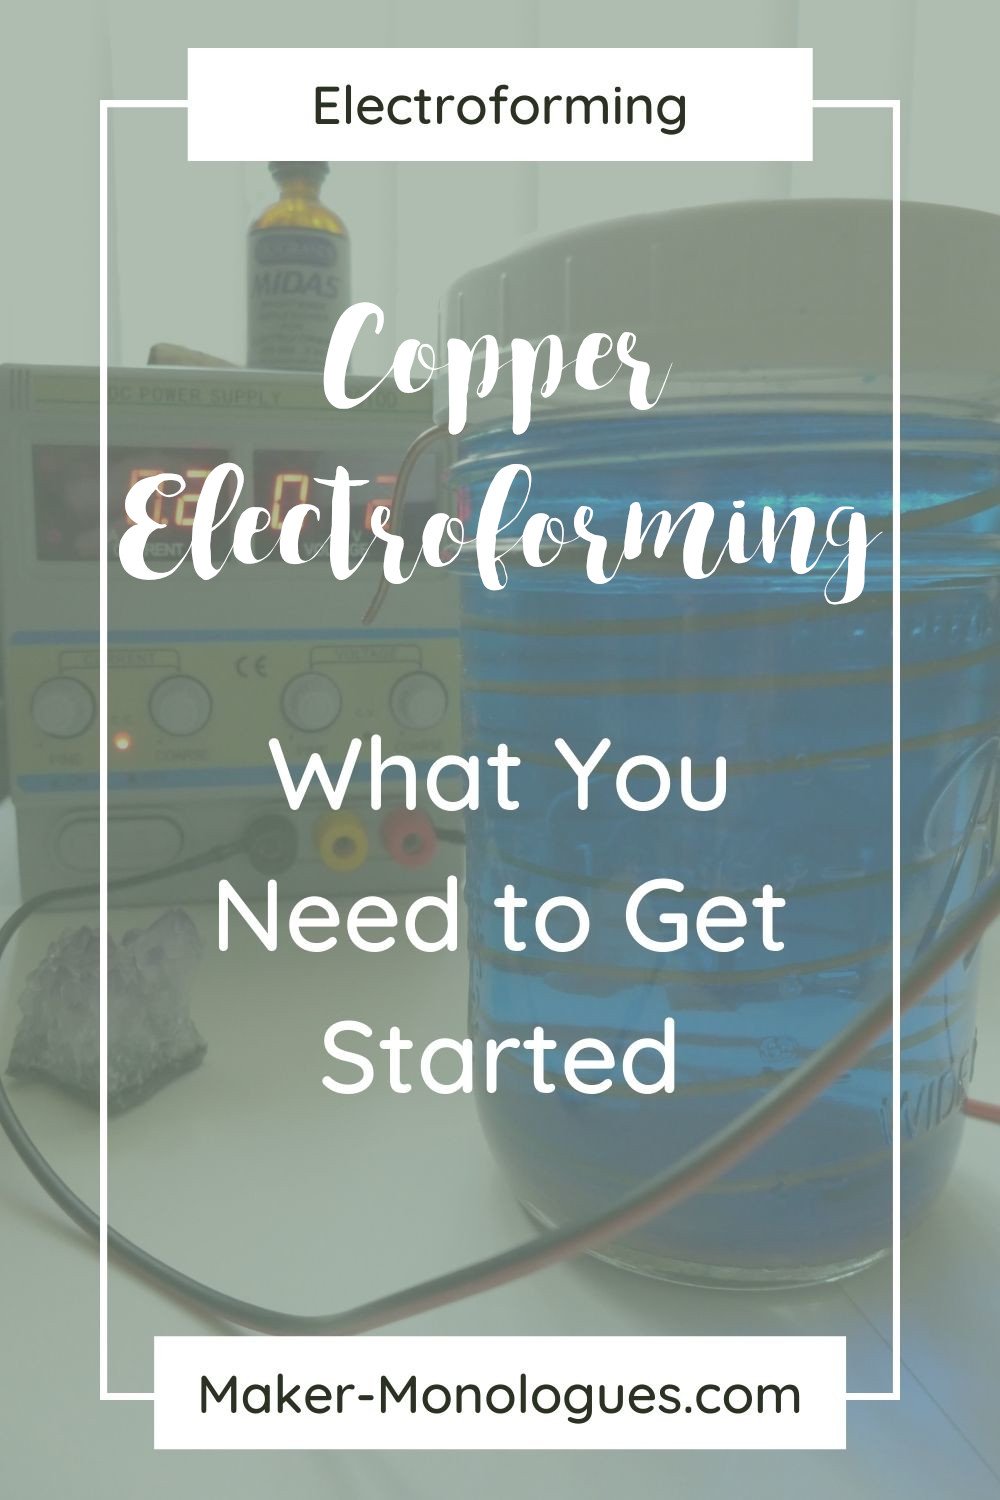
Copper Electroforming + What You Need to Get Started
/*Last Updated 11/30/2021
There seems to be a fast-growing interest in copper electroforming/electroplating. One thing I see a lot are questions about the difference between electroforming and electroplating. Electroplating is simply plating a type of metal over another surface of metal.
With traditional electroforming, you are using a non-metal material, oftentimes wax, to create a form in which you paint over with conductive paint to create a metallic surface.
Then you plate your desired metal over the conductive surface and the wax material is then removed (you would leave a hole where you can melt the wax out) leaving a metal shell in the form you want.
So what I will be talking about in this series of blog posts is technically a little of both because we are not using wax as our form-making material, instead, we’ll be using an epoxy. And we also will not be removing the epoxy leaving a metal shell.
However, I’ll call it electroforming since that seems to be what everyone is calling it and that is the keyword I’ll need to use so those looking for this info can find it.
I hope I haven’t lost you yet! This may read as gibberish if you’re just starting out but it’ll make more sense later in the series.
So, with this being the first post I will go ahead and talk about the supplies you will need and where to find them.
There are lots of kits out there you can buy that will run you about $250 – $300 and sometimes more depending on the power of the rectifier it comes with.
I’m going to let you know where you can get these kits along with where to purchase everything separately because sometimes the kits come with things you don’t necessarily need, and visa versa, some kits don’t come with everything you’ll need.
I will then go on to talk about techniques and how to actually electroform in later posts.
Related: How To Copper Electroform A Ring
Copper Electroforming + What You Need to Get Started by MakerMonologues.com - Pin this image to your jewelry making boards on Pinterest for later referencing.
*This post contains affiliate links. I earn a small commission if you purchase any recommended products at no extra cost to you. Affiliate sales help me to keep this blog going so I can continue bringing you free content. Thanks for your support!
First things first. You will need a power supply, also known as a plating rectifier, that converts AC power to DC power.
AC and DC describe types of current flow in a circuit. The electric charge in alternating current (AC) changes direction periodically and sometimes reverses. In direct current (DC), the electric charge (or current) only flows in one direction.
That’s where the rectifier comes into play taking AC power from your typical receptacles in your home, office, studio, etc., and converting it to DC power.
Fun fact: The Australian rock band AC/DC got their name from alternating current and direct current! Because their sounds are ELECTRIC! (I know, I know...lame.)
PLATING RECTIFIER
I purchased a 3-amp TekPower rectifier on Amazon. This should be more than enough power for someone just starting out. You can electroform up to 30 square inches per 3-amp power supply.
You can also get these listed below:
5-amp Tekpower rectifier on Amazon
5-amp rectifier at Rio Grande
10-amp Eventek rectifier on Amazon
25-amp PePe Tools rectifier on Amazon (This rectifier has been known to be the best so if you've got the money to spend I'd recommend this one.)
COPPER ELECTROPLATING SOLUTION
Next, you will need some copper electroplating solution to create a “bath” to submerge your pieces in for the electroforming process. You want to get a solution that is acid-based.
You can purchase this stuff from a number of places I listed below.
Midas Bright 1 qt. Copper electroplating solution at Rio Grande (this is the solution I use.)
Krohn 1 qt Copper electroplating solution on Amazon
Jax 16oz Copper electroplating solution on Amazon (this is something new I haven't seen before but items purchased with it are other electroforming supplies. If you get this let me know how it works for you.)
You can find this stuff easily online. The prices are all basically the same. I’ve used both Krohn and Midas Bright and I have seen better results with the Midas Bright.
The Midas Bright brand solution has what’s called copper brightener in it so your pieces come out bright and shiny. However, you can purchase a bottle of copper brightener separately, Midas Bright from Rio Grande, to use as a bath replenisher.
If you notice you’re pieces start coming out a little dull just add a couple of drops to your bath. You’ll also notice some evaporation from your bath, you’ll see that the level of the solution has dropped or you’ll start to see blue crystals forming at the bottom of your bath.
Related: What Are The Blue Crystals At The Bottom Of My Bath?
That’s because water is evaporating from your bath and you can easily correct this by adding just enough distilled water to top off what H2O has evaporated from your bath.
You can also make your own copper electroforming solution by following a specific recipe(s). I have not tried this but others have had success.
Plus, I understand it can be quite difficult to purchase this solution if you live in other countries. In that case, I would give this copper electroforming solution recipe by Eric Caldwell a try.

COPPER CONDUCTIVE PAINT
You will need copper conductive paint if you are going to be electroforming organic or non-metallic pieces (gemstones, seedpods, bones, etc.).
This acts as a conductive metal surface for you to electroplate copper over. Only paint the area you want your copper to adhere to.
Here are some places you can find it online:
2 oz. graphite conductive paint at Rio Grande (they used to sell the copper conductive paint but now they only offer graphite paint.)
4 oz. Caswell copper conductive paint on Amazon
1-16oz. Safer Solutions copper conductive paint - International sales here (this is the paint I use and love.)
A friend recommended this stuff which is metal paint that can be used to electroform over. Just be sure to apply 3-4 coats. You can get some for $12 and up and choose any amount.
You could even use a copper conductive tape. I’ve never tried but I believe others have so it’s definitely worth a try.
EPOXY
Epoxy is used in two ways, one is to fill any gaps and to make your piece stronger. For example, after you glue a gemstone to a ring shank there may be a gap between the stone and metal, you can use epoxy to fill that gap.
Or you can use epoxy to create any shape you want, for example, a flower, in which you can paint with conductive paint and copper electroform.
I started out using wood filling epoxy, which worked great. I just didn’t know any better because there wasn’t much information about this medium back then. But I would not suggest using a 2-part epoxy which is much stronger and harder.
You can find epoxy in the places listed below.
1 lb Magic Sculpt 2-part epoxy at Amazon
3 lb Apoxie Sculpt 2-part epoxy at Amazon (this is the epoxy I use, and I love it!)
2 oz. J-B WaterWeld Epoxy Putty at Amazon (a lot of people like this product as well but you gotta work fast with it as it starts to set in 25 minutes.)
COPPER WIRE & SHEET
Copper wire/sheet is the most obvious supply you will need for copper electroforming. There are a plethora of places you can get copper wire from.
Fortunately for me, my fiance is an electrician so he can bring home copper wire that has been pulled from jobs. But you can get reclaimed copper wire from many places, just make sure you’re doing it legally and you ask first.
You'll need copper wire/sheet for two things; for your set-up (your anode, bus bar, cathode hanging wire), and for your designs (ring bands, jump rings, bails, etc.).
Copper needed for your setup:
Anode
You can either use copper wire or copper sheet for your anode.
The anode is what will provide the copper that will form onto your designs. Slowly your anode will be eaten away because that copper is being used to plate into your design.
You’ll have to replace the anode every now and again so the more copper that’s in your anode the less often you have to replace it.
For copper wire, you'll want to use a thick gauge (anywhere between 12g-8g, or thicker) wire for your anode. The thicker it is the longer it will last before you need to replace it. I like using 8g wire for this.
For copper sheets, finding a super thick copper sheet is a little more difficult but you can find some. However, the gauge or thickness of the copper sheet doesn’t really matter as much because you’ve got a large surface area of copper to use.
Cathode/Hanging Wire
This is just the wire you will hang your design on to keep it submerged in the electroforming solution while also providing electrical current via your negative lead.
In this case the thinner the wire the better because this wire will also have copper form onto it as well as your design. I like to use 24g wire for this.
Bus Bar
The bus bar is just something to place across your bath container to provide a place to wrap your hanging wire around.
This doesn’t have to be copper, a lot of people use chopsticks. I personally like to use copper that way I can attach my negative lead wire to it.
If you use a chopstick or some other non-conductive item then you’ll need to leave a tail when you wrap the hanging wire around it to attach your negative lead.
Your negative lead needs to attach to copper, whether that’s your copper bus bar or your cathode hanging wire it’s up to you.
I use a 12g bus bar, you can really use any gauge if you’re using copper but it does need to be sturdy so anything 16g and thicker would do.
Copper needed for your designs:
I have been using a 12g copper wire for my ring bands and will be introducing a thinner ring band using 18g wire. Of course, once you electroform them they become bigger gauges.
Here is a comparison photo of the 12g (which becomes about 10g after electroforming) and the 18g (which becomes about 16g after electroforming).

12g base wire on top - 18g base wire on bottom. These ring bands have been electroformed.
Wire/sheet options for your setup:
Wire for your Anode:
You can get some 8g wire by the foot at Lowe's for $0.59 per foot (I would recommend going to your local hardware store for this because getting 8g online is quite expensive.)
Here’s 25ft of 10g copper wire on Amazon (I use about 2-3ft for my coil anodes so this much would give you about 8 coil anodes.)
Or, if you want a more economical solution, you can get 12g 10ft spool on Amazon and use it for both your anodes and ring shanks (which is what I do with my 12g wire.)
Or, search for your own size of copper wire
Copper Sheet for your Anode:
8g thick 4x2” copper sheet on Amazon (these would make great anodes because they’re so thick!)
2-pack 6x1" 14g copper sheet at Copalumbra Metals on Etsy
6x12" 18g copper sheet on Amazon
Or, search for your own size copper sheet
Wire for you Cathode/Hanging Wire:
24g 100ft spool of copper wire on Amazon
24g 793ft spool of copper wire on Amazon
Wire options for designs:
You can get 12g 10ft spool on Amazon (If you do the math, the largest ring size is about 2" of wire so if you go by that this 10ft spool can yield more than 60 rings.)
You can also get this 10ft sppol of 12g half-round wire on Amazon which makes for a cleaner, comfort fit ring band.
You can get 18g 100ft spool on Amazon (which would yield more than 600 rings.)
Or, search for your own size of copper wire
There’s definitely no shortage of copper wire and sheets so I’m sure you’ll have no trouble finding the size you need.
SEALANTS + VARNISHES (OPTIONAL)
Sealing Your Gems + Crystals (before electroforming):
A lot of gemstones and crystals need to be sealed before being put into the electroforming bath. Some will just dissolve in the acid and some do just fine without it. Be sure to check out my growing list of crystals that need to be sealed.
2-5 oz water-base varnish refill at Sherri Haab
2 oz white mask liquid frisket on Amazon (this is what a lot of people are raving about)
8 oz. Modge Podge clear acrylic sealer at Amazon
4 oz. Liquid Latex Body Paint at Amazon
A lot of folks use clear nail polish with success
Related: Sealing Everything from Stones to Bones
Sealing Porous Stones, Bones, or Seashells
8 oz. Delta Ceramcoat Varnish on Amazon
Sealing Delicate's (Leaves, Honeycombs, Seedpods, etc.)
I'm sure any of the above lacquers will work and visa versa, I'm just going by what I know people have had success with for the given application.
Minwax Polyurethane Clear Finish on Amazon (A few folks have had great results with this stuff. Dip or spray on using the aerosol can 2-3 times before conductive painting.)
Sealing Metal (before electroforming):
This is good if you’re electroforming earrings but you want to keep the earring post-surgical steel for allergy prevention. Or if you’re just looking to create some cool designs. You want to get something that won’t dissolve in the acid solution.
22 oz Dip Can Plasti Dip at Amazon.
11 oz Aerosol Spray Plasti Dip at Amazon
Sealing Your Copper (after electroforming):
A lot of times you want to seal your copper to protect it from tarnishing and to prevent the copper from discoloring your skin.
However, there are no products on the market that can keep copper jewelry sealed forever because the product will eventually wear away. So keep that in mind.
6 oz. Krylon clear acrylic coating at Amazon (a lot of people I know use this for sealing)
4 oz ProtectaClear acrylic varnish on Amazon (I swear by this stuff and will never use anything else)
1 pint Midas Clear Lacquer Sealant at Rio Grande
65 ml Renaissance Wax on Amazon (I've used this stuff and could never get it to work, the copper stained my skin within hours after applying this stuff, however, others swear by it so I'm adding it to the list.)
PATINA SOLUTIONS (OPTIONAL)
After your piece is finished you may want to oxidize or patina your copper, totally optional. Here are some products that you can use for that.
Black Oxidization:
2 oz. Cool Tools Patina Gel Liver of Sulfur at Amazon (This is the stuff I use and love!)
4 oz. Euro Tool Liver of Sulfur Dry Patina on Amazon
Lots of LOS options in a variety of prices
Sculpt Nouveau patina finishes at all prices and sizes
Verdigris Patina:
Modern Masters Green Patina from Amazon
Jax Green Patina from Amazon
MAGNETIC STIRRER (OPTIONAL)
You can also purchase a magnetic stirrer/heating plate (a lot of the kits come with one) to achieve simultaneous agitation and heat to keep your plating solution consistent for a better overall plate.
This is optional, you don’t really need this to start, I have been electroforming without one for a few months, however, I just purchased one to see the difference it will make on my pieces. I will show you all the results of using one and not using one in later posts.
Here are some places you can get one if you do decide to you want one. They have different sizes depending on the size of your bath.
Update: I did not get good results from my magnetic stirrer. I've also heard from others that it didn't work for them either. I don't have any photos but when I used it, it made my pieces darker and bumpier. I'm not exactly sure why. I feel they must have some benefit if all the Rio Grande kits come with one but I haven't used mine since I tested it out.
Second update: I believe these are only necessary depending on the size of your bath as a bigger bath will keep cooler than room temp whereas a smaller bath will normally stay room temp so this heat plate will help keep your bath warm. It will also help keep it warm if you live in a colder climate.
Magnetic Stirrer with Heated Stand at Rio Grande (This is the one I just purchased)
Faithful Magnetic Stirrer/Heat Plate from Amazon
Scilogex magnetic stirrer/heat plate on Amazon
You can find many others on Amazon
OTHER TID-BITS
These are probably things that aren't necessary to get started or you can find other tools to replace these, etc.
Super Glue: You will need some super glue for gluing jump rings to pendants or crystals to ring shanks. I’m not going to go into detail about this because super glue is super glue.
Some use e6000 but I personally use regular ol’ super glue (Loctite especially. I love the tip of this bottle to get into small spaces - and not all over my fingers!). The liquid seems to work better and dries faster for me than gel types.Gloves: You’re going to need disposable rubber gloves to keep things sterile during preparation. You don’t want oils from your fingers to get on your piece and contaminate your bath. But when it comes to handling the solutions you're going to want to use the thicker industrial grade gloves.
Brass Brush: Also a brass brush to clean your anode every once in a while. It can also be used to shine up your dull copper pieces.
Rotary Tool: A Dremel comes in handy for sanding down rough areas on your pieces. If you already have a Dremel rotary tool then you can get this Dremel Flex Shaft Attachment so you can do detailed work more ergonomically. Or you can opt for a traditional flex shaft tool.
Funnel: You’ll need a funnel for funneling your solution back into your bottle when you’re not electroforming. The funnel I linked to comes with a mesh filter already but if you already have a funnel at home then you can use a coffee filter inside the funnel to catch any debris. Obviously it won’t catch everything so take that into consideration.
ELECTROFORMING KITS
These kits make it super simple to get everything you will need to electroform instead of finding each individual product and comparing prices, etc. Here is a list of some kits you can purchase.
E3 Electroforming Kit by Sherri Haab at Sherri Haab Design
3-Amp Electroforming Kit at Glass Diversions
Midas 5-Amp Electroforming Kit at Rio Grande
These are just a few I found during a quick search. Look through them and read what each kit comes (or doesn’t come) with. You may need to buy additional things and they might even come with things you won’t even use so use your judgment based on the types of things you will be electroforming.
I believe that is everything you will need to get started on your electroforming journey! Anything outside of that would be basic metalsmithing tools, i.e. wire cutters, files, ring sizer, and mandrel, etc. Update: Check out my silversmithing supplies guide that lists a lot of basic metalsmithing tools you'll need for electroforming.
Come join the fast-growing Facebook group Electroforming – Artists & Jewelry Designers. A place for artists to get together and share tips and tricks, post questions, and share their beautiful work! Hope to see you there!
Bookmark this guide or pin it to your jewelry-making board to check back often as I'll be adding to the list with more supplies and info you may need. Stay tuned, I will be posting some things on how to use your supplies and start electroforming!
If you have any questions about anything I've mentioned here please leave a comment below rather than emailing me your question. It would be better if I answered your question publicly for all to see who may have the same question rather than answering the same question multiple times via email. I get to questions a lot quicker via blog comments. Thanks!
Here are some electroforming tutorials: