How to Create Texture on your Copper Electroformed Jewelry
/Trying to repeat a fun texture you accidentally achieved through copper electroforming can be quite frustrating. We don't want to leave it up to our power supply to decide whether we get that cool texture or not. So I'm going to show you a way I've been able to achieve that texture.
How To Get Texture On Your Copper Electroformed Jewelry by Maker-Monologues.com
*This post contains some affiliate links, which means I may receive a small commission if you purchase from certain links listed. This is how I'm able to run this blog, share my knowledge, at no cost to you. =) Thanks for supporting Maker Monologues!
I've been playing with these twig rings I used to offer in my shop. I've been editing down my line so those were the first to go. I didn't use an actual twig, although that's a viable option, I just wanted to play with bits of metal to make a twig-looking ring.
I thought since I'm not carrying that ring anymore I should turn it into a tutorial showcasing how to get that fun texture you'd normally get in a twig.
For this project I'm using:
Needle file (half round)
Electroforming Set-Up:
10-amp power supply (3-amp is perfectly suitable)
12g copper wire (anode)
22-24g copper wire (cathode)
For this tutorial, I'm making a ring, but you can adapt the technique to make any piece of jewelry.
Step 1: Gather Your Material
First, create your ring shank, just wrap your wire around your ring mandrel and cut at the size you want.
Then, cut 3 tiny pieces of wire, about 5mm long (feel free to make them longer or shorter), from the same wire you made your ring shank from.
Take your flush cutters and cut tiny 1-1.5mm pellets of wire from the same spool as your ring shank. Cut however many you think you'll need (plus extra for those gremlins who steal things from our bench when we're not looking).
Next, choose your gemstone for the center of the ring (a.k.a. the fun part!)
Step 2: File The "Twigs"
Take your parallel jaw pliers (you can do this by simply holding them but they're really tiny so it may be easier to use the pliers). Put one of the little twig pieces in your pliers and file one end round. Flip it over and file a 45-degree angle.
Step 3: Assemble The Bits
Take your super glue, I like to use a brand called Loctite, but for this, I'm using Gorilla Glue which will suffice.
Glue your gemstone in place first, this will help you determine where you want your "twigs" to go. Then glue on your twigs pieces. I like to use 3, odd numbers seem more organic to me but feel free to use as many as you'd like.
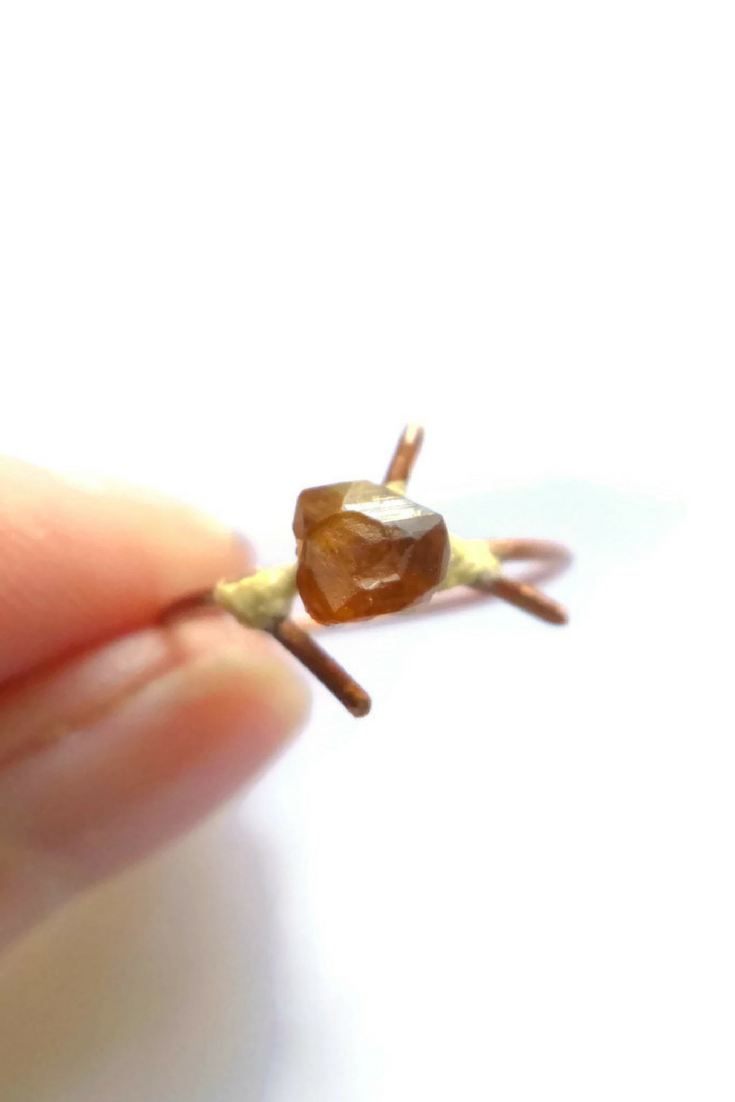
After I assembled the twig pieces I felt that the stone covered too much. I wanted more of the twig pieces to show so I decided to choose a different, smaller stone (even though this spessartite garnet was SOOO stunning!).
Step 5: Fill With Epoxy
Now we're going to fill in any gaps with epoxy. I like to use one of my needle files to scoop up a small half-pea-sized amount at a time of epoxy and fill any gaps. Using a needle file helps me to push epoxy in between small gaps without getting it everywhere.
Allow your epoxy to dry for 6-12-24 hours, however long your products says it needs to be fully cured.
Step 6: File The Epoxy
I see a lot of the time that artists/jewelers do not file down the epoxy to create a gradual slope between stone and metal (like I used to before I realized my rings were hard to size because they weren't perfectly round on the inside). You should not be able to see where the epoxy is placed in your pieces.
So, take your needle file, you can also use a soft stone bit with your Dremel or Flex Shaft, I like having control of this type of detail work so I just use a file. I file all the epoxy away, leaving it only in the gaps between stone and metal.
Step 7: Apply The Texture
Once your epoxy is filed down and you have the shape you want, apply some glue to the areas where you want to add texture. Next, sprinkle on your tiny 1mm pieces of wire, you can use a pick to shift the metal bits around to your liking.
Once you're happy with where the metal bits are, allow the glue to completely dry.
Step 7: Conductive Paint
We don't need to apply epoxy to the tiny metal bits because they're so tiny the glue acts as the epoxy, there are no gaps to fill.
So we're going to go straight into painting our piece with copper conductive paint. I have fallen in love with the Safer Solutions brand, I'll never switch to anything else. Dilute with distilled water if needed then paint your piece. Go ahead and paint over the tiny metal bits as well.
Allow to completely dry before moving on. (I guess I completely forgot to photograph this step, you get the point, though.)
Step 8: Electroforming Set-Up
Take a thin, 22g or so, piece of wire, fold it in half, slide your piece onto it then twist both halves. Then, wrap the top of the twisted wires around your bus bar. This is your cathode. Create your anode, I use thick 12g or so, copper wire and create a coil with it. You can use copper sheet as well.
Next, fill your jar, or whatever else you're using to electroform in, with copper electroforming solution. I love the Midas Bright brand. Connect your black negative lead to your cathode and connect your red positive lead to your anode. Make sure that you create "tabs" for you to connect your leads to so they are not inside your bath or over the top of your jar. (Sorry for the bad photos.)
Step 9: Electroform Your Piece
I'm using a 10-amp power supply, no brand, I got lucky and purchased a good unit from a faulty batch (plus bad seller). So my numbers may look very different from yours if you're using a 3-amp or 5-amp.
For me, for a single ring I set my amps to .2 to .3 and it takes anywhere from 2-4 hours to complete. If you have a 3-amp you would want to set it to .30 for a single ring. (You're not able to see the middle numbers in my two display screens, my camera just can't seem to capture all three digits at the same time but the left screen says 00.2 and the right says 00.6)
Step 10: Finishing Touches
Take your ring out when it's finished, rinse it and then polish it. I won't go into detail about polishing because there are so many methods. Most of the time I toss it in my tumbler, if there's a soft stone I use my Dremel with polishing compounds, and for a piece like this, with lots of texture, I combine one of these two methods with using a brass brush so I can get into all those nooks and crevasses.
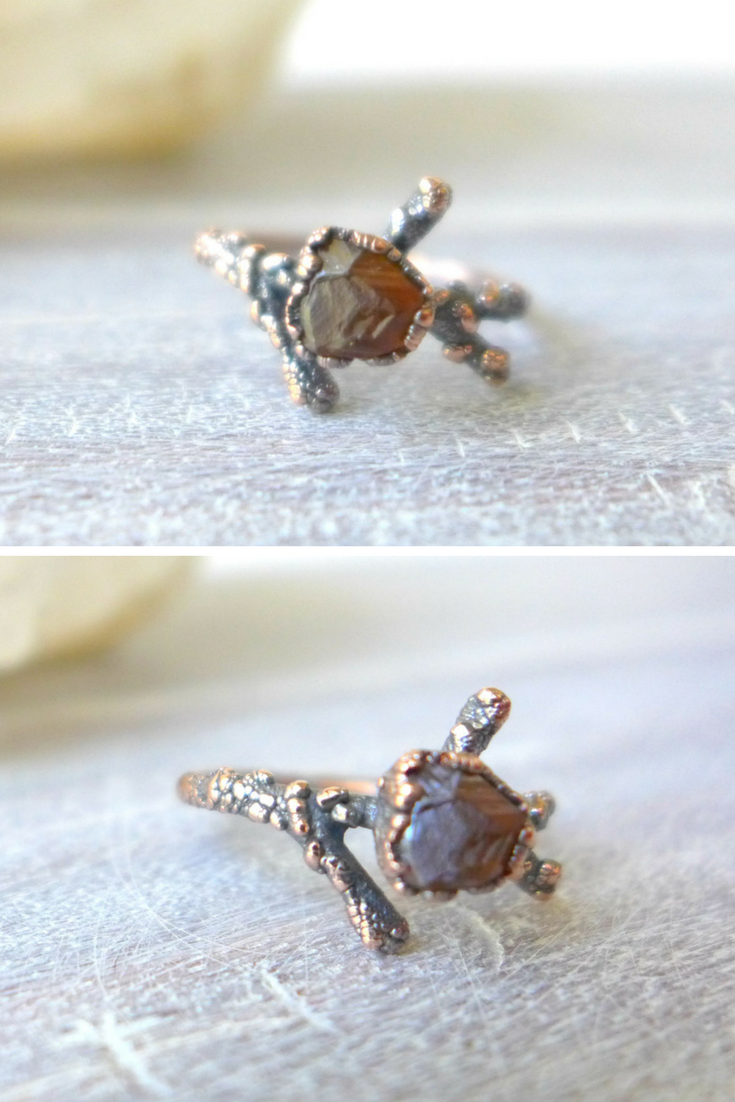
This is how my ring came out! I love it, but with a texture like this, it'd be a crime not to oxidize it! So I used some LOS mixed with hot water and dipped my piece in until it was completely black.
Then I took my Dremel and used a felt polishing bit mixed with red rouge polishing compound and polished the high spots leaving the oxidation only in the recessed areas making all that beautiful texture pop!
And it's done! I'm super happy with this ring and how it turned out! I wore it all the rest of the day and it stacks too nicely with my silver hammered stacking rings!
I want to see YOUR twig rings! Share them with me on Instagram by tagging #MakerMonologuesProject so I can see and share on my page! If you have any questions leave them in the comments below!
How To Create Texture On Your Copper Electroformed Pieces by Maker-Monologues.com


